
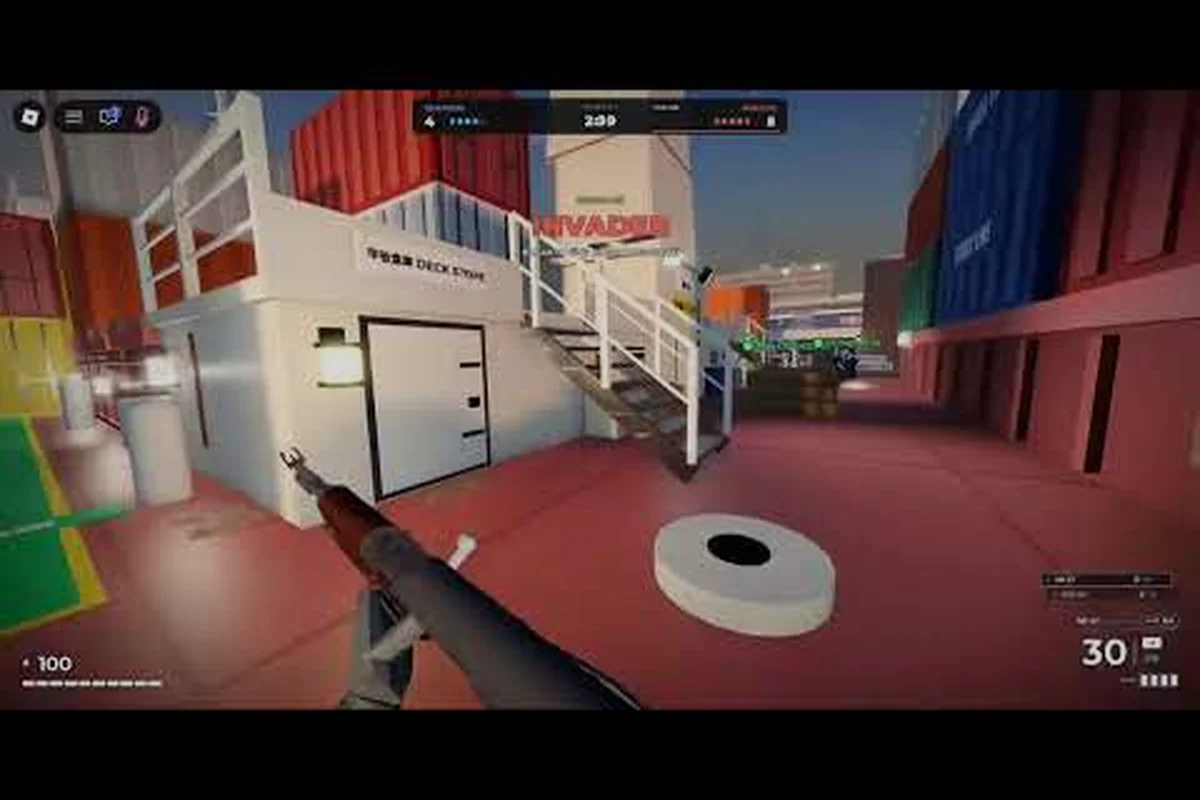
Your first two rounds in REALISTIC HOME DEFENSE decide whether you survive the night or get overrun by wave three, because the early waves arrive slowly enough that a single panic-fired magazine at long range drains your reserve before the first breach even reaches the door. This early game guide fixes your aim first — crosshair discipline and burst control rather than spray — then walks you through exactly where your starting cash should go, prioritizing a doorway-holding weapon over a high-damage rifle you can't afford to feed.
Most new players lose because they panic-fire at long range and buy the wrong weapon before the first breach. The fix is simple: tighten your crosshair discipline, learn burst control, and spend your opening money on a gun that actually holds a doorway. Get those three things right and the rest of the run becomes manageable.
Why the Opening Rounds Decide Your Whole Run
The first three waves in REALISTIC HOME DEFENSE are a teaching window, not a warm-up. Enemy count is low, your starting cash is fixed, and every mistake costs you health you cannot easily recover. Players who treat wave one as a practice range usually reach wave five with a broken weapon and no ammo reserve.
Community reports from alpha-era gameplay consistently show the same pattern: new players die not because the enemies are hard, but because their aim drifts and their first purchase is a long-range rifle they cannot control indoors. The house layout is close-quarters, so a weapon you cannot keep on target at five meters is worse than a cheap pistol you can.
Here is what actually matters in the opening phase: the four habits below — crosshair placement, burst control, one anchor weapon, and ammo discipline — map directly onto the wave-by-wave pressure curve, so wave one is where you lock in crosshair height, wave two is where burst control and doorway holding get tested, and wave three is where your first weapon upgrade and ammo check decide whether the run survives. Skipping any one of them compounds: a sloppy wave-one spray leaves you reloading at the exact moment wave three's medium pressure pushes through the breach, and by wave five you are standing in an open sightline with no backup weapon and no fallback plan.
-
Crosshair placement at chest height on the most likely doorway, not the floor.
-
Burst control — three to four rounds, then reset, instead of holding the trigger.
-
One anchor weapon you can afford and control before wave three.
-
Ammo discipline so you are not reloading mid-breach.
If you want the broader fundamentals before diving into aim mechanics, the beginner guide for REALISTIC HOME DEFENSE covers the core loop and controls in more depth. Read it first if the terms above are unfamiliar, then return here: this section assumes you already know how to move, aim, and reload, and it builds the opening-wave habits on top of that baseline. Skipping the beginner guide means you will spend wave one learning the controls instead of locking in crosshair height, which is exactly the mistake the table below flags as the most common wave-one error.
| Opening Phase | Enemy Pressure | What to Focus On | Common Mistake |
|---|---|---|---|
| Wave 1 | Very low | Crosshair placement, single taps | Spraying the whole magazine |
| Wave 2 | Low | Burst control, doorway holding | Chasing enemies outside |
| Wave 3 | Medium | First weapon upgrade, ammo check | Buying before you can aim |
| Wave 4 | Medium-high | Positioning, reload timing | Standing in open sightlines |
| Wave 5 | High | Full loadout, fallback plan | No backup weapon |
How to Improve Aim Before You Spend a Single Dollar
Improving aim in REALISTIC HOME DEFENSE is less about sensitivity and more about trigger discipline. The game rewards short, controlled bursts because recoil climbs fast and recovery is slow. If you hold the trigger for a full second, your shots walk up the wall and you lose the engagement.
Start by setting a sensitivity you can track with. A common starting point reported by players is a value where a full mouse swipe turns you roughly 180 degrees — enough to clear a doorway without overshooting. If you play on a phone or tablet, the mobile settings and sensitivity guide explains how to tune touch controls so your thumb does not fight the recoil.
For a practical walkthrough of early-game defensive setups and the reasoning behind them, see this realistic home defense early game guide video.
The Three-Round Burst Drill
Before every run, spend one minute in an empty area practicing this pattern: it costs you nothing but a minute of prep time, yet it pre-loads the trigger discipline and crosshair placement you'll rely on the instant a home invader clears a hallway corner. Treat this as your warm-up ritual — the same way you'd press-check a magazine before opening a door — so the burst rhythm is already in your hands before the first contact. Skipping it means your first engagement doubles as your practice rep, and early-game intruders punish that hesitation hard.
-
Aim at a doorframe at chest height.
-
Fire three rounds, then release the trigger completely.
-
Let the crosshair settle for a full beat.
-
Repeat, moving your aim one step to the side each time.
This drill builds the muscle memory that keeps your shots grouped, and in a realistic home defense scenario that grouping is the difference between a clean hallway clear and a stray round punching through drywall into the room where a family member is sheltering. Players who skip it tend to default to panic-spray the moment an intruder appears, dumping the whole magazine in under two seconds and torching their reload window right as the second threat rounds the corner — which is exactly the behavior that gets them killed on wave three. Run the four-step loop until three-round bursts leave the barrel with the same cadence as your press-check, then carry that rhythm straight into your first contact instead of learning it mid-firefight.
Crosshair Placement Beats Flick Speed
You do not need fast flicks in a house-defense game. You need your crosshair already where the enemy will appear. Walk through the map and note the two or three doorways enemies funnel through, then keep your aim parked at head or chest height on the nearest one. When a target steps in, you only need a small adjustment instead of a full swing.
The movement and combat mechanics guide breaks down how crouching, leaning, and sprinting affect your accuracy, which matters more than raw sensitivity once the waves get crowded. Crouching steadies your shots for the doorway hold, but leaning around a corner exposes a smaller hitbox than a full body peek, and sprinting into a room leaves you with a wide spread for roughly a second after you stop. That is why parking your crosshair at chest height on the funnel doorway and holding still beats a fast 180-degree swipe every time the wave spawns, since a sprinting entry forces a reset before your first burst can land.
| Aim Skill | Why It Matters | Quick Fix |
|---|---|---|
| Crosshair placement | Cuts reaction time | Park aim at chest height on doorways |
| Burst control | Keeps shots grouped | Three rounds, then reset |
| Recoil recovery | Prevents walk-up misses | Wait one beat between bursts |
| Sensitivity | Prevents overshoot | 180-degree swipe test |
| Reload timing | Avoids dead moments | Reload behind cover, never in the open |
First Buys: Where Your Starting Cash Should Go
Your first purchase in REALISTIC HOME DEFENSE should be a weapon you can control at close range, not the most expensive thing on the list. The starting cash is deliberately tight, so buying a high-recoil rifle leaves you with no ammo money and a gun you cannot keep steady in a hallway.
According to community discussion around the alpha build, the safest opening path is a mid-cost weapon plus an ammo reserve, then upgrade once wave three pays out. Skipping the ammo reserve is the single most common early mistake — players buy the gun, run dry on wave two, and lose the house while reloading.
| Purchase Priority | Item Type | Why It Comes First | Skip If |
|---|---|---|---|
| 1 | Reliable close-range weapon | Controllable recoil indoors | You already have a working sidearm |
| 2 | Ammo reserve | Prevents dry reloads mid-wave | You are swimming in ammo |
| 3 | Armor or health item | Survives a mistake | You never take damage |
| 4 | Secondary weapon | Backup when primary empties | Cash is below the reserve line |
| 5 | Upgraded primary | Better damage per burst | Your aim is still inconsistent |
Why a Cheap Gun You Control Beats an Expensive Gun You Cannot
A weapon is only as good as your ability to land three rounds in a row. In tight interiors, a controlled mid-tier gun out-performs a premium rifle every time because the engagement distance never lets the premium gun's range advantage matter. Spend the first wave learning your weapon's recoil pattern, then decide whether an upgrade is worth it.
The Ammo Reserve Rule
Keep enough cash on hand to refill ammo after every wave. A simple rule reported by players: never drop below the cost of one full ammo refill. That buffer is what keeps you from facing wave four with an empty magazine and no way to reload.
A Step-by-Step Start Guide for Your First Five Waves
This step by step guide for REALISTIC HOME DEFENSE start runs is built around a simple rhythm: hold, reset, reload, repeat. Follow it in order and you will reach wave five with a working loadout instead of a broken one.
-
Wave 1 — Learn your gun. Fire only in three-round bursts, even at easy targets. Note where your shots land.
-
Wave 2 — Hold one doorway. Pick the funnel enemies use most and stay there. Do not chase kills into the open.
-
Wave 3 — Buy your anchor weapon. Spend on the controllable close-range gun plus ammo, not the premium rifle.
-
Wave 4 — Add a fallback. Buy a secondary or armor so a single mistake does not end the run.
-
Wave 5 — Upgrade and reposition. With cash from earlier waves, upgrade your primary and set up a fallback corner.
If you want to refine the finer points of positioning and economy after this opening, the guide on playing better in REALISTIC HOME DEFENSE goes deeper into mid-run decisions. That follow-up covers the mid-run pivot: when to abandon your wave-2 doorway funnel for a tighter chokepoint, how to read enemy pathing so your fallback corner stays useful, and how to bank cash between waves instead of over-buying ammo. Treat the five-wave sequence above as your baseline, then layer those mid-run habits on top once your anchor weapon and fallback are locked in.
| Wave | Cash Priority | Aim Focus | Position |
|---|---|---|---|
| 1 | Save everything | Burst control | Central hallway |
| 2 | Save for weapon | Doorway holding | Main funnel |
| 3 | Buy anchor weapon + ammo | Grouped bursts | Behind cover |
| 4 | Add secondary or armor | Reload timing | Fallback corner |
| 5 | Upgrade primary | Full engagement control | Chokepoint with escape |
Positioning and Reload Discipline That Keep You Alive
Aim and purchases only carry you so far if you stand in the wrong place. In REALISTIC HOME DEFENSE, the house is a series of chokepoints, and the players who survive longest are the ones who treat every doorway as a firing line rather than a hallway to walk through.
Reload discipline is the other half of positioning. Never reload in the open — always break line of sight first. A reload takes long enough that an enemy stepping through the door mid-animation will end your run. Practice the habit of firing a burst, stepping behind cover, reloading, then re-peeking.
-
Hold chokepoints, not open rooms.
-
Reload behind cover, never in a sightline.
-
Keep a fallback corner you can retreat to when a wave overwhelms you.
-
Listen for breach cues so you are already aiming when the enemy appears.
Community gameplay captures from the alpha build show that most deaths happen during reloads and repositioning, not during active shooting — a pattern that reframes the entire early game around movement economy rather than raw firepower. Because a reload leaves you briefly unable to answer a breach, the moments you commit to it are the moments you're most exposed, which is why a single well-timed retreat behind a chokepoint beats any weapon upgrade you can afford in the opening waves. That single insight is worth more than any weapon upgrade.
Frequently Asked Questions
How do I improve aim fast in REALISTIC HOME DEFENSE?
Practice three-round bursts at a doorframe before every run and keep your crosshair parked at chest height on the main doorway. Recoil recovery matters more than sensitivity, so release the trigger fully between bursts and let the crosshair settle before firing again.
What should I buy first in REALISTIC HOME DEFENSE?
Buy a controllable close-range weapon plus an ammo reserve before anything else. A cheap gun you can keep on target indoors beats an expensive rifle you cannot control, and the ammo buffer prevents the dry reloads that end most early runs.
Is the early game guide enough to survive past wave five?
It covers the fundamentals that get you through the opening waves reliably. Once you are comfortable with burst control and positioning, focus on upgrading your primary and adding a fallback weapon so later waves do not catch you with an empty magazine.
How many waves should I save cash before upgrading?
Save through waves one and two, then buy your anchor weapon on wave three when the payout arrives. The reason is the wave-two payout spike: clearing it typically funds both the gun and a full ammo reserve, whereas buying on wave two forces you to skip the reserve and start wave three with a partial magazine. Upgrading earlier usually means sacrificing ammo money, which leaves you exposed during the first crowded wave. If you are ever tempted to upgrade on wave two, spend that cash on reserve ammo instead — a stocked magazine on your starter weapon survives the wave-three rush better than a half-empty upgraded one.
Does sensitivity matter more than crosshair placement?
Crosshair placement matters more in a house-defense game because engagements happen at short range, where a doorway-width peek gives you roughly a 90-degree arc to cover and no time to flick. Set a sensitivity you can track with, then spend your practice time on keeping aim at doorway height instead of chasing faster flicks: park the crosshair on the doorframe's near edge during the wave-two payout lull, pre-aim the hallway corner before rounding it, and let the enemy walk into your reticle rather than swinging to meet them.